Creating Your Own Sand Casting Kit for Fun and Learning
Exploring the World of Sand Casting Kits
Sand casting, a time-honored technique used for metal casting, has gained popularity among hobbyists and professionals alike. With the advent of sand casting kits, it has become easier than ever for enthusiasts to explore this fascinating craft. These kits offer an accessible introduction to the art of casting, allowing people to create intricate metal objects with minimal setup. In this article, we will delve into the components of a typical sand casting kit, the process involved, and the benefits of using such kits.
Components of a Sand Casting Kit
A typical sand casting kit includes several essential components
1. Casting Sand The core of any sand casting process is the casting sand, often a mixture of silica sand, clay, and water. This mixture forms a mold when compressed.
2. Mold Box This is a containment structure where the mold is formed. It usually consists of two halves (top and bottom) to allow for easy molding and removal.
3. Patterns Patterns are replicas of the final object to be cast. They are often made from durable materials like wood, plastic, or metal and are used to create imprints in the sand.
4. Metal While some kits may come with small amounts of metal, such as aluminum or bronze, many users purchase their own in bulk. The metal is melted down to pour into the sand mold.
5. Furnace or Heat Source A simple furnace, propane torch, or even a small electric furnace can be used to melt the metal. Some kits may include instructions for building a DIY furnace.
6. Tools Essential tools for sand casting, such as ladles for pouring, spatulas for smoothing sand, and trowels for shaping, are often included or can be found at home improvement stores.
The Sand Casting Process
The sand casting process is relatively straightforward, making it an appealing choice for beginners. Here’s a step-by-step overview
1. Preparation Start by securing all necessary materials and tools. Ensure your workspace is clean and organized.
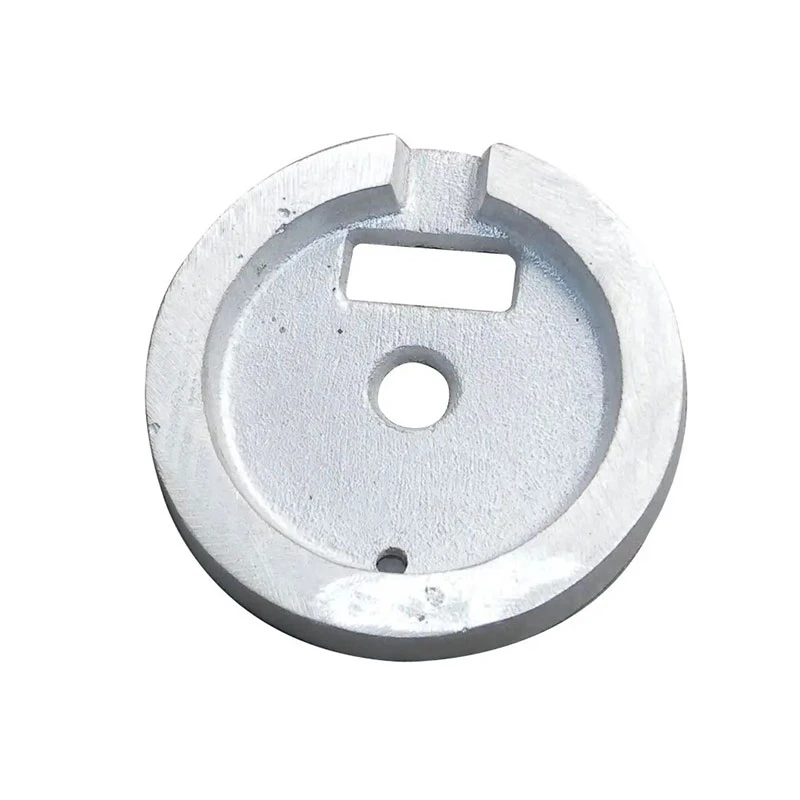
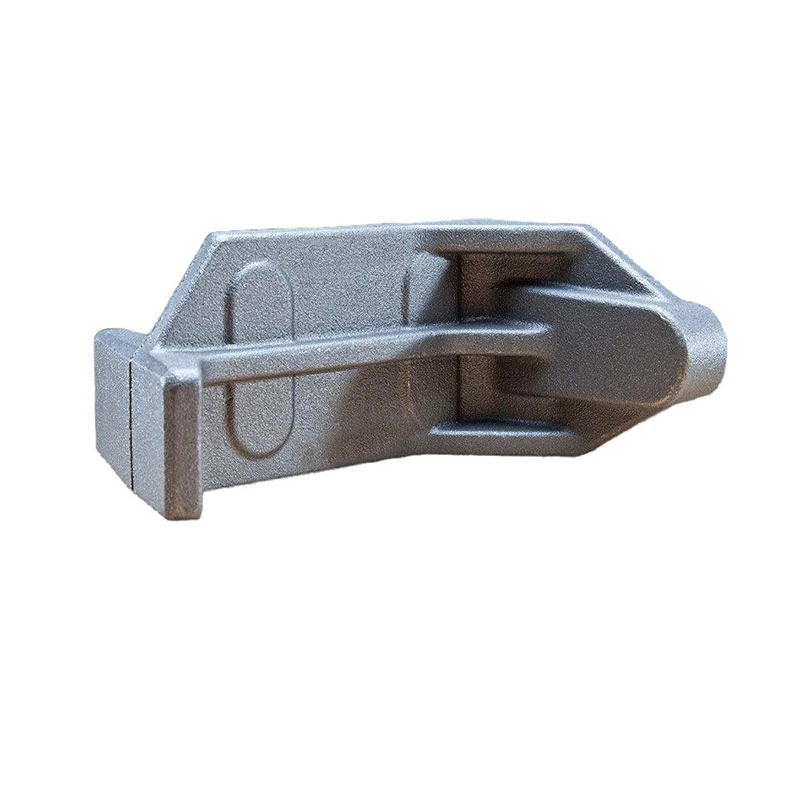
sand casting kit
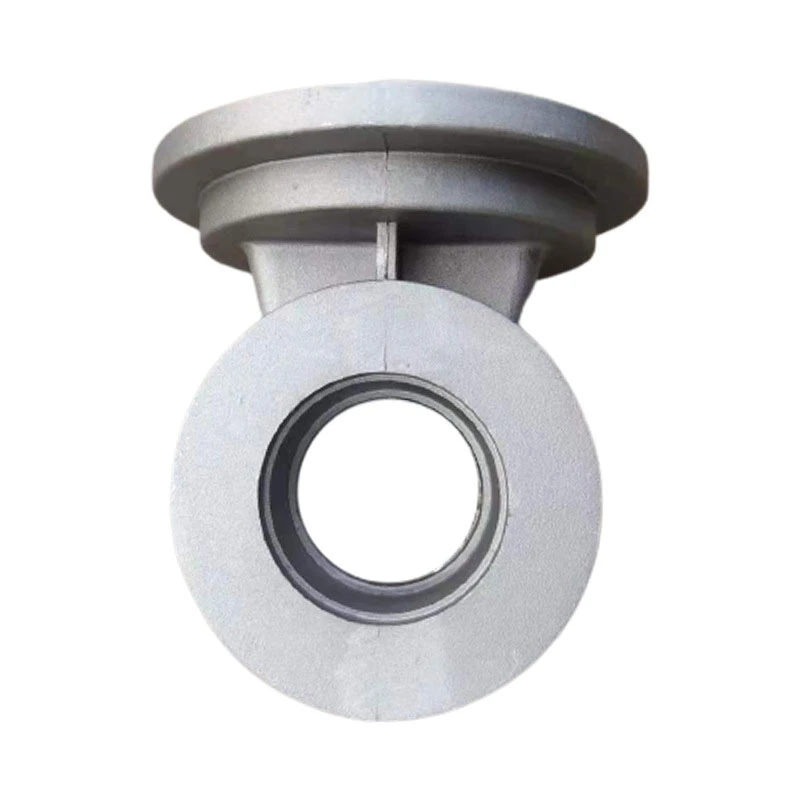
2. Creating the Mold Place the pattern in the mold box, then fill the box with the prepared sand mixture. Compact the sand firmly around the pattern.
4. Pouring the Metal Melt the chosen metal using the furnace or torch. Once molten, carefully pour the metal into the sand mold, ensuring to fill it completely.
5. Cooling Allow the metal to cool and solidify. The cooling time can vary depending on the size and type of metal.
6. Finishing Once cooled, gently remove the sand mold to reveal the cast object. Finishing touches may involve sanding, polishing, or additional detailing.
Benefits of Using Sand Casting Kits
Sand casting kits offer numerous advantages
- Accessibility They are designed for individuals at all skill levels, making metal casting accessible to anyone interested in trying it.
- Creative Expression Sand casting allows for unlimited creativity, enabling users to create custom designs and shapes.
- Educational Value These kits provide a practical understanding of metallurgy, physics, and engineering principles, making them excellent tools for education.
- Community and Support Many kit manufacturers and online forums offer valuable resources, tutorials, and a community eager to help newcomers.
In conclusion, sand casting kits open a world of possibilities for anyone interested in metalworking. With the right materials and a bit of patience, you can create beautiful, lasting metal pieces while embracing a craft that has stood the test of time. Whether you’re looking to start a new hobby or expand your existing skills, a sand casting kit is a fantastic way to embark on your metal casting journey.
-
OEM Sand Cast Pump Valve Fittings - Baoding Hairun | Precision Engineering, CustomizableNewsJul.30,2025
-
OEM Sand Cast Pump Valve Fittings - Baoding Hairun Machinery And Equipment Trading Co., Ltd.NewsJul.30,2025
-
OEM Sand Cast Pump Valve Fittings - Baoding Hairun Machinery And Equipment Trading Co., Ltd.NewsJul.30,2025
-
OEM Sand Cast Pump Valve Fittings - Baoding Hairun Machinery|Precision Engineering&Fluid ControlNewsJul.30,2025
-
OEM Sand Cast Pump Valve Fittings - Baoding Hairun Machinery And Equipment Trading Co., Ltd.NewsJul.30,2025
-
OEM Sand Cast Pump Valve Fittings-Baoding Hairun Machinery And Equipment Trading Co., Ltd.NewsJul.30,2025


