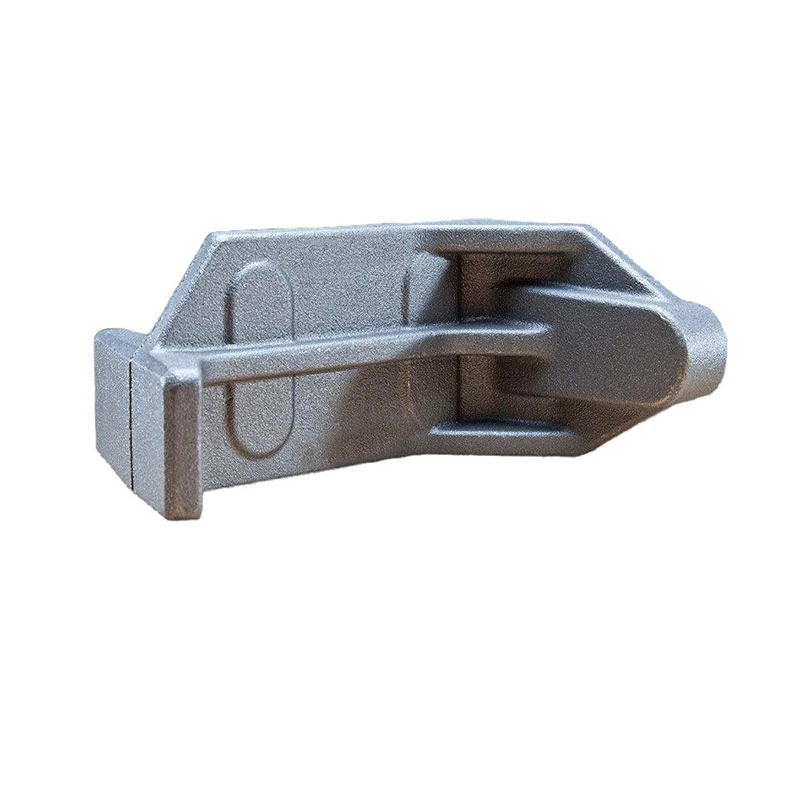
How to Successfully Sand Cast Brass in Your Own Home Workshop
Sand Casting Brass at Home A Beginner's Guide
Sand casting is one of the oldest and most versatile metalworking processes, widely used for creating complex shapes and large components. For hobbyists and DIY enthusiasts, sand casting brass at home can be a rewarding and educational experience. Not only does it offer the opportunity to work with metals, but it also allows for creativity and innovation. This article provides a beginner’s overview of how to successfully cast brass at home using sand casting techniques.
Understanding Sand Casting
Sand casting involves creating a mold from sand, into which molten metal is poured to form a part or product. The basic components of sand casting include the pattern (which is a replica of the desired part), the sand mixture used for molds, a flask (a framework to hold the sand), and the furnace to melt the metal.
Materials Needed
1. Sand You’ll need high-quality sand, ideally a mix of fine and coarse grains. Silica sand is commonly used. 2. Pattern Material Patterns can be made from wood, plastic, or metal. Wood is often preferred for beginners due to its easy handling. 3. Mold Release Agent This helps prevent the sand from sticking to the pattern, making it easier to remove after pouring. 4. Brass You can use brass scrap pieces for melting. Brass typically consists of copper and zinc. 5. Furnace A propane furnace or a metal foundry furnace can be used to melt brass. A crucible is necessary for holding the molten metal. 6. Safety Gear Gloves, goggles, and a face shield are essential for protection against heat and molten metal. 7. Tools A ramming tool for packing sand, a drag and cope (the two halves of the mold), and a pouring cup for transferring molten brass.
Step-by-Step Process
1. Creating the Pattern Start by designing the part you want to cast. Make the pattern about 1-2% larger than the final size to account for shrinkage when the metal cools.
2. Making the Mold - Prepare the Flask Place your pattern in the drag (the bottom half of the mold) and cover it with a mixture of sand and a binder. - Ramming Firmly pack the sand around the pattern using a ramming tool. Ensure there are no gaps. - Creating the Parting Line After the drag is properly filled and compacted, create a parting line—this is where the top half (the cope) will align with the drag. - Finishing the Cope Repeat the process for the cope, ensuring to include any necessary vents for gas escape.
sand casting brass at home
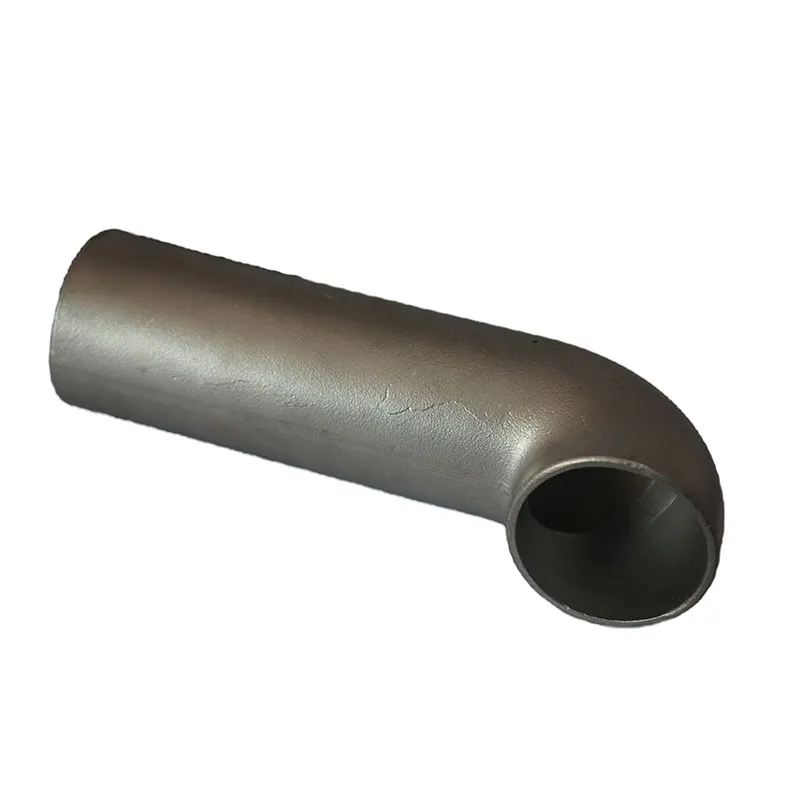
3. Preparing to Pour - Remove the pattern carefully from the mold. Make sure not to disturb the sand too much. - Add any necessary gates and risers, which allow the molten metal to flow and reduce the chance of defects in the final product.
4. Melting the Brass - Load your furnace with the brass scrap and heat it to approximately 1,650°F (900°C). - Use a crucible to hold the melt and ensure it is heated evenly.
6. Cooling Allow the metal to solidify. This can take anywhere from a few minutes to several hours, depending on the size of the casting.
7. Finishing the Casting Once cooled, break away the sand mold. Use a wire brush or sandblaster to clean the casting. Depending on its purpose, you may further need to machine or polish the finished product.
Safety Precautions
Safety is paramount when sand casting at home. Always work in a well-ventilated area, and ensure that flammable materials are kept away from your workstation. Never handle molten metal without proper protective gear.
Conclusion
Sand casting brass at home can be an exciting and practical way to learn about metallurgy and manufacturing processes. With the right materials, equipment, and safety practices, you can successfully create custom brass components for your projects. Whether you are looking to create artistic pieces, functional tools, or parts for hobbies and crafts, the possibilities are endless. Happy casting!
-
Precision Casting Facility: Advanced Manufacturing for Global Industries | Hairun SourcingNewsNov.23,2025
-
Leading Precision Casting Corporation: Quality Metal Components for Global IndustryNewsNov.23,2025
-
Precision Cast Rods: Definition, Applications & Future Trends in ManufacturingNewsNov.22,2025
-
Precision Cast Iron Surface Plate: The Backbone of Industrial Accuracy and QualityNewsNov.21,2025
-
Precision Aluminum Investment Casting: High-Accuracy Manufacturing for Modern IndustriesNewsNov.20,2025
-
Precise Castings Inc – Advanced Metal Casting Solutions for Global IndustriesNewsNov.19,2025


