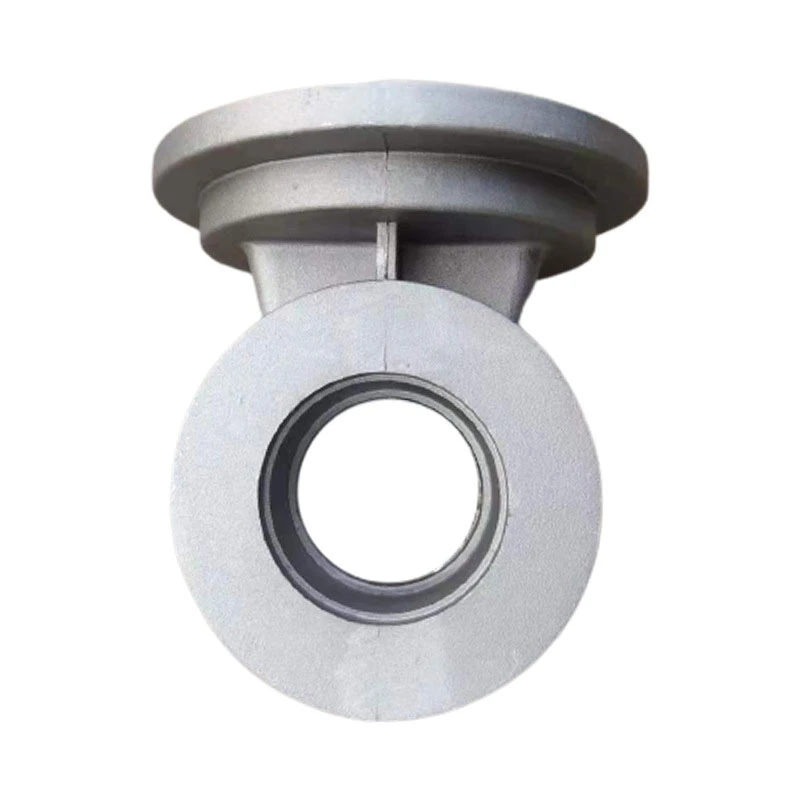
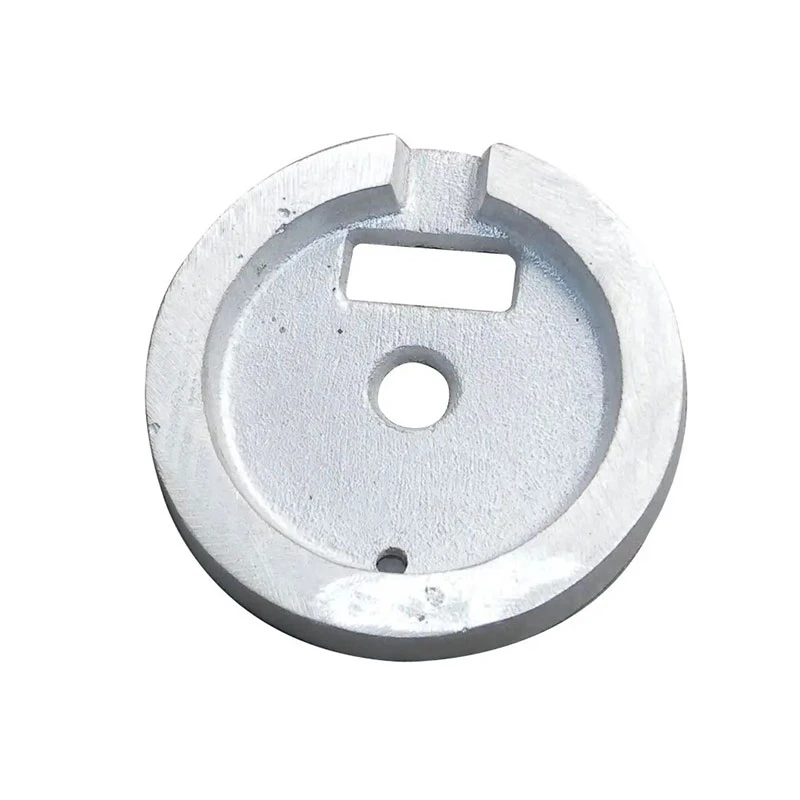
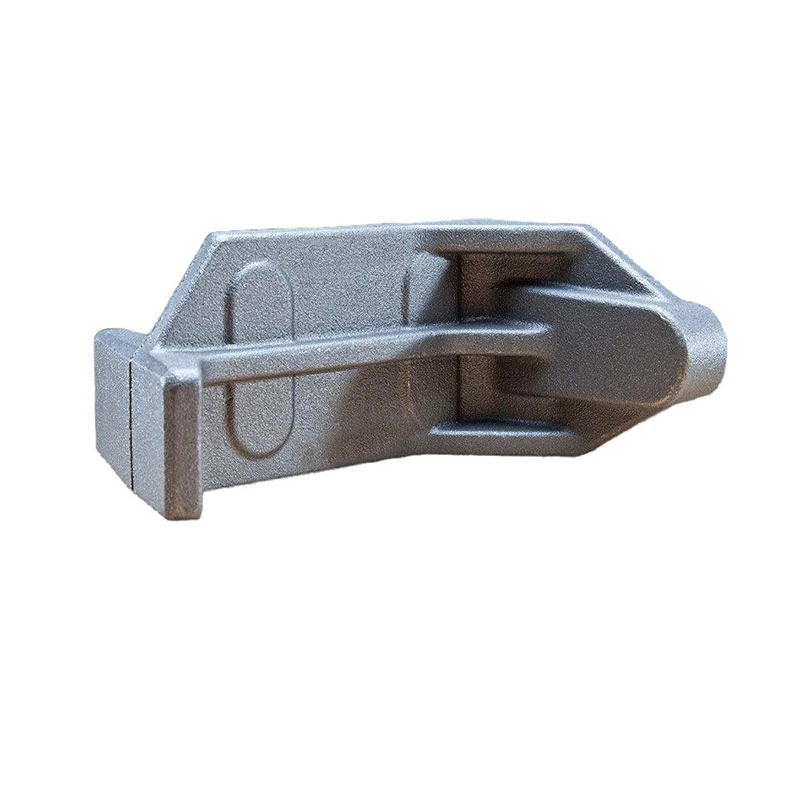
Exploring the Art of Home Sand Casting Techniques and Materials
Home Sand Casting A Creative Approach to Metalworking
Sand casting is one of the oldest and most versatile methods of metalworking, dating back thousands of years. It involves pouring molten metal into a sand mold to create a desired shape. While industrial sand casting is widely known, home sand casting is gaining popularity among hobbyists and DIY enthusiasts. This article explores the basics of home sand casting, its advantages, and tips for getting started.
Understanding Sand Casting
At its core, sand casting is a straightforward process. The main components are the mold, which is made of sand and a binding agent, and the molten metal, which is poured into the mold to form the final product. The sand is typically mixed with a binder to enhance its ability to hold shape during the pouring process. Once the metal cools and solidifies, the sand mold is broken away to reveal the cast object.
Why Choose Home Sand Casting?
1. Creativity and Personalization Home sand casting allows for immense creativity. You can design and create anything from small figurines to functional items like tool handles or car parts. The ability to personalize your projects gives home sand casting a unique edge over factory-made products.
2. Cost-Effectiveness Sand casting can be relatively inexpensive, especially compared to other metalworking methods. With basic materials like sand, a suitable binder, and a furnace (or a homemade option), you can create quality castings without breaking the bank.
3. Sustainable Practices Many hobbyists embrace sustainable practices by reusing materials. Old metal objects can be melted down and recast into new shapes, reducing waste and promoting recycling.
4. Learning Experience For those interested in metalworking, home sand casting provides a hands-on learning experience. It teaches you about the properties of metals, the melting process, and the intricacies of mold-making, while also improving your manual dexterity and craftsmanship skills.
home sand casting

Getting Started with Home Sand Casting
If you're inspired to try home sand casting, here are some steps to guide you through the process
1. Gather Materials You'll need fine sand (like that used for construction), a binder (such as water or clay), a metal melting furnace (you can use a backyard forge or a small propane furnace), and the metal you want to cast (aluminum is a popular choice for beginners).
2. Make a Pattern The pattern is a replica of the object you want to cast. You can make it from wood, plastic, or any material that will withstand the sand packing process. Remember to include tapers or draft angles to help release the pattern from the sand mold.
3. Prepare the Mold Mix the sand with the binder and pack it tightly around the pattern to form the mold. Ensure that the mold is strong enough to hold the shape when the molten metal is poured.
4. Melt the Metal Heat your metal until it reaches a suitable melting point. For aluminum, this is around 660°C (1220°F). Always take safety precautions, including wearing protective gear such as gloves and goggles.
5. Pour the Metal Once the metal is molten, carefully pour it into the prepared mold. Allow the metal to cool and solidify before removing the mold. This step requires patience and caution to avoid accidents.
6. Finishing Touches Once the casting has cooled, break away the sand mold and clean the cast item. You may need to file or sand any rough edges and consider polishing for a smooth finish.
In conclusion, home sand casting is an exciting and rewarding endeavor for those interested in metalworking. With a bit of creativity, the right materials, and careful practice, you can create detailed and personalized metal objects from the comfort of your home. Whether you're a hobbyist looking to explore a new craft or a seasoned metalworker seeking a challenge, home sand casting offers endless possibilities.
-
OEM Sand Cast Pump Valve Fittings - Hairun Sourcing | Precision Engineering, Industrial EfficiencyNewsJul.13,2025
-
EcoGuard 3000 - Sustainable Agriculture Solution&Soil Health ImprovementNewsJul.13,2025
-
SmartAgri Solutions: Smart Farming Tech | AI Analytics & IoT SensorsNewsJul.13,2025
-
[Product Name]-[Company Name]|Business Efficiency&InnovationNewsJul.13,2025
-
Smart Factory Solutions-Industrial Efficiency|Real-Time Analytics&Automated WorkflowNewsJul.12,2025
-
OEM Sand Cast Pump Valve Fittings - Hairun Sourcing | Durable, Reliable, CustomizedNewsJul.12,2025


