Understanding the Process of Die Casting and Its Essential Steps for Success
The Process of Die Casting Steps to Precision Manufacturing
Die casting is a manufacturing process that utilizes molten metal, which is injected into a mold cavity under high pressure, creating components that are both dimensional accurate and highly detailed. This process is favored in industries like automotive, aerospace, and electronics due to its efficiency and superior surface finish. Understanding the steps involved in die casting can help companies leverage this technology effectively.
Step 1 Mold Design and Fabrication
The first step in the die casting process is mold design. The mold, typically made of steel or iron, needs to be designed to withstand high pressure and temperatures. Engineers use computer-aided design (CAD) software to create precise mold designs that account for shrinkage, draft angles, and venting. Once the design is finalized, the fabrication of the mold begins, often involving machining processes such as milling, grinding, and heat treatment to ensure durability and precision. This step is critical as the quality of the mold directly affects the quality of the final product.
Step 2 Melting the Metal
The next step involves melting the metal that will be cast. Common materials used in die casting include aluminum, zinc, and magnesium, selected for their favorable properties such as strength and lightweight. The metal is melted in a furnace until it reaches a temperature sufficient to become liquid. The melting process must be carefully controlled to avoid oxidation and contamination, which could compromise the integrity of the final product.
Step 3 Injection
Once the metal is liquid and at the desired temperature, the next step is injection. Using a die casting machine, the molten metal is injected into the prepared mold under high pressure, typically between 1,000 to 20,000 psi. This high-pressure injection ensures that the metal fills all cavities of the mold quickly and evenly, minimizing the presence of air pockets and defects. The speed and pressure of injection play a critical role in producing parts with excellent surface finishes and precise features.
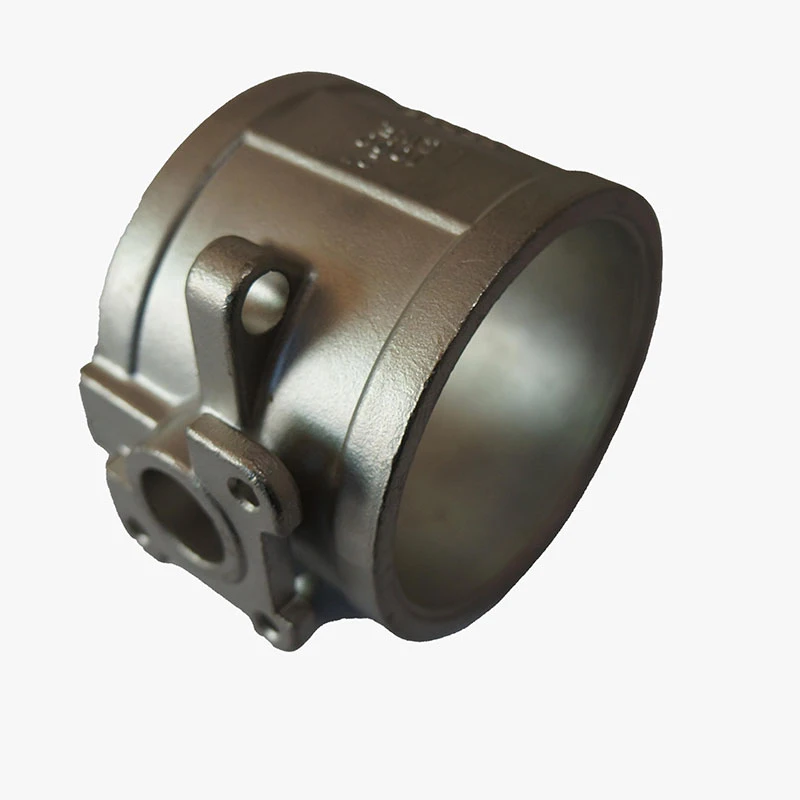
die casting steps
Step 4 Cooling and Solidification
After the injection, the molten metal begins to cool and solidify within the mold. Cooling times vary depending on the material and the thickness of the component but typically range from a few seconds to a couple of minutes. The die is often equipped with cooling channels that facilitate rapid cooling, further enhancing efficiency. Proper cooling is crucial to ensure that the final piece has the correct dimensions and mechanical properties.
Step 5 Ejection
Once the component has solidified, it must be removed from the mold. This is done through an ejection system, which pushes the cast part out of the mold cavity. Ejector pins or plates are commonly used for this purpose, and care must be taken during this process to prevent damage to the finished part. In some cases, additional steps may be needed to remove any excess material or flash that may have formed during the casting process.
Step 6 Finishing Operations
After ejection, the cast part often requires finishing operations to achieve the desired surface quality and dimensional accuracy. These operations may include machining, surface treatment, and cleaning. Machining helps in achieving tight tolerances, while surface treatments can improve corrosion resistance and aesthetics.
Conclusion
The die casting process consists of several meticulous steps that ensure the production of high-quality metal parts. From mold design and metal melting to injection, cooling, ejection, and finishing, each step plays a vital role in the manufacturing chain. Understanding these steps allows companies to optimize their die casting operations, ensuring superior products that meet the demands of modern industries. As technology advances, die casting continues to evolve, promising even greater efficiency and quality for the future.
-
Top Extras Casting Solutions Die Casting and Sand Casting Experts High-Quality Casting and Die Casting ServicesNewsJun.10,2025
-
Top SS Casting Manufacturer Aluminum Die Casting Manufacturer China Precision Die Casting Company SupplierNewsJun.10,2025
-
High-Quality Brass Casting Sand for Precision Sand Casting Brass at HomeNewsJun.10,2025
-
Affordable Aluminum Sand Casting Solutions Custom PartsNewsJun.09,2025
-
High-Quality China Sand Casting Services Cost-Effective & ReliableNewsJun.09,2025
-
Premium Hot Stamping Parts Durable Plastic Decor SolutionsNewsJun.09,2025


