DIY Sheet Metal Stamping Techniques for Home Projects
Sheet Metal Stamping at Home A DIY Guide
Sheet metal stamping, a process traditionally associated with large-scale manufacturing, can also be an incredibly rewarding DIY project at home. Whether you're crafting parts for a hobby, building custom components for a larger project, or just exploring your creative side, understanding the basics of sheet metal stamping can open up a world of possibilities. In this article, we will outline the essential tools and techniques you need to get started, along with some tips to help you produce quality results.
Understanding Sheet Metal Stamping
Sheet metal stamping involves using a die and a punch to shape a flat piece of sheet metal into desired forms. This method is used to create everything from simple brackets to complex automotive parts. The process is suitable for various metals, including aluminum, steel, and brass, depending on your project’s requirements.
Tools and Equipment
Before diving into any project, it's essential to gather the right tools. Here’s a list of basic equipment you will need for home sheet metal stamping
1. Sheet Metal Start with thin sheets, ideally between 22 to 18 gauge, as they are easier to work with. 2. Die and Punch Set You can either buy premade dies or create your own using steel plates. 3. Hydraulic Press A small hydraulic press can provide the necessary force to stamp the metal. Alternatively, a simple manual arbor press can suffice for smaller projects. 4. Safety Gear Always prioritize safety. Use gloves, safety glasses, and protective clothing to prevent injuries. 5. Measuring Tools A ruler, calipers, and a square can help ensure accuracy in your designs.
Planning Your Project
Before starting, sketch out the design and gather all necessary measurements. This planning stage is crucial; it helps visualize the final product and minimizes errors during stamping. You can create templates from cardboard to check proportions before cutting into the metal.
sheet metal stamping at home
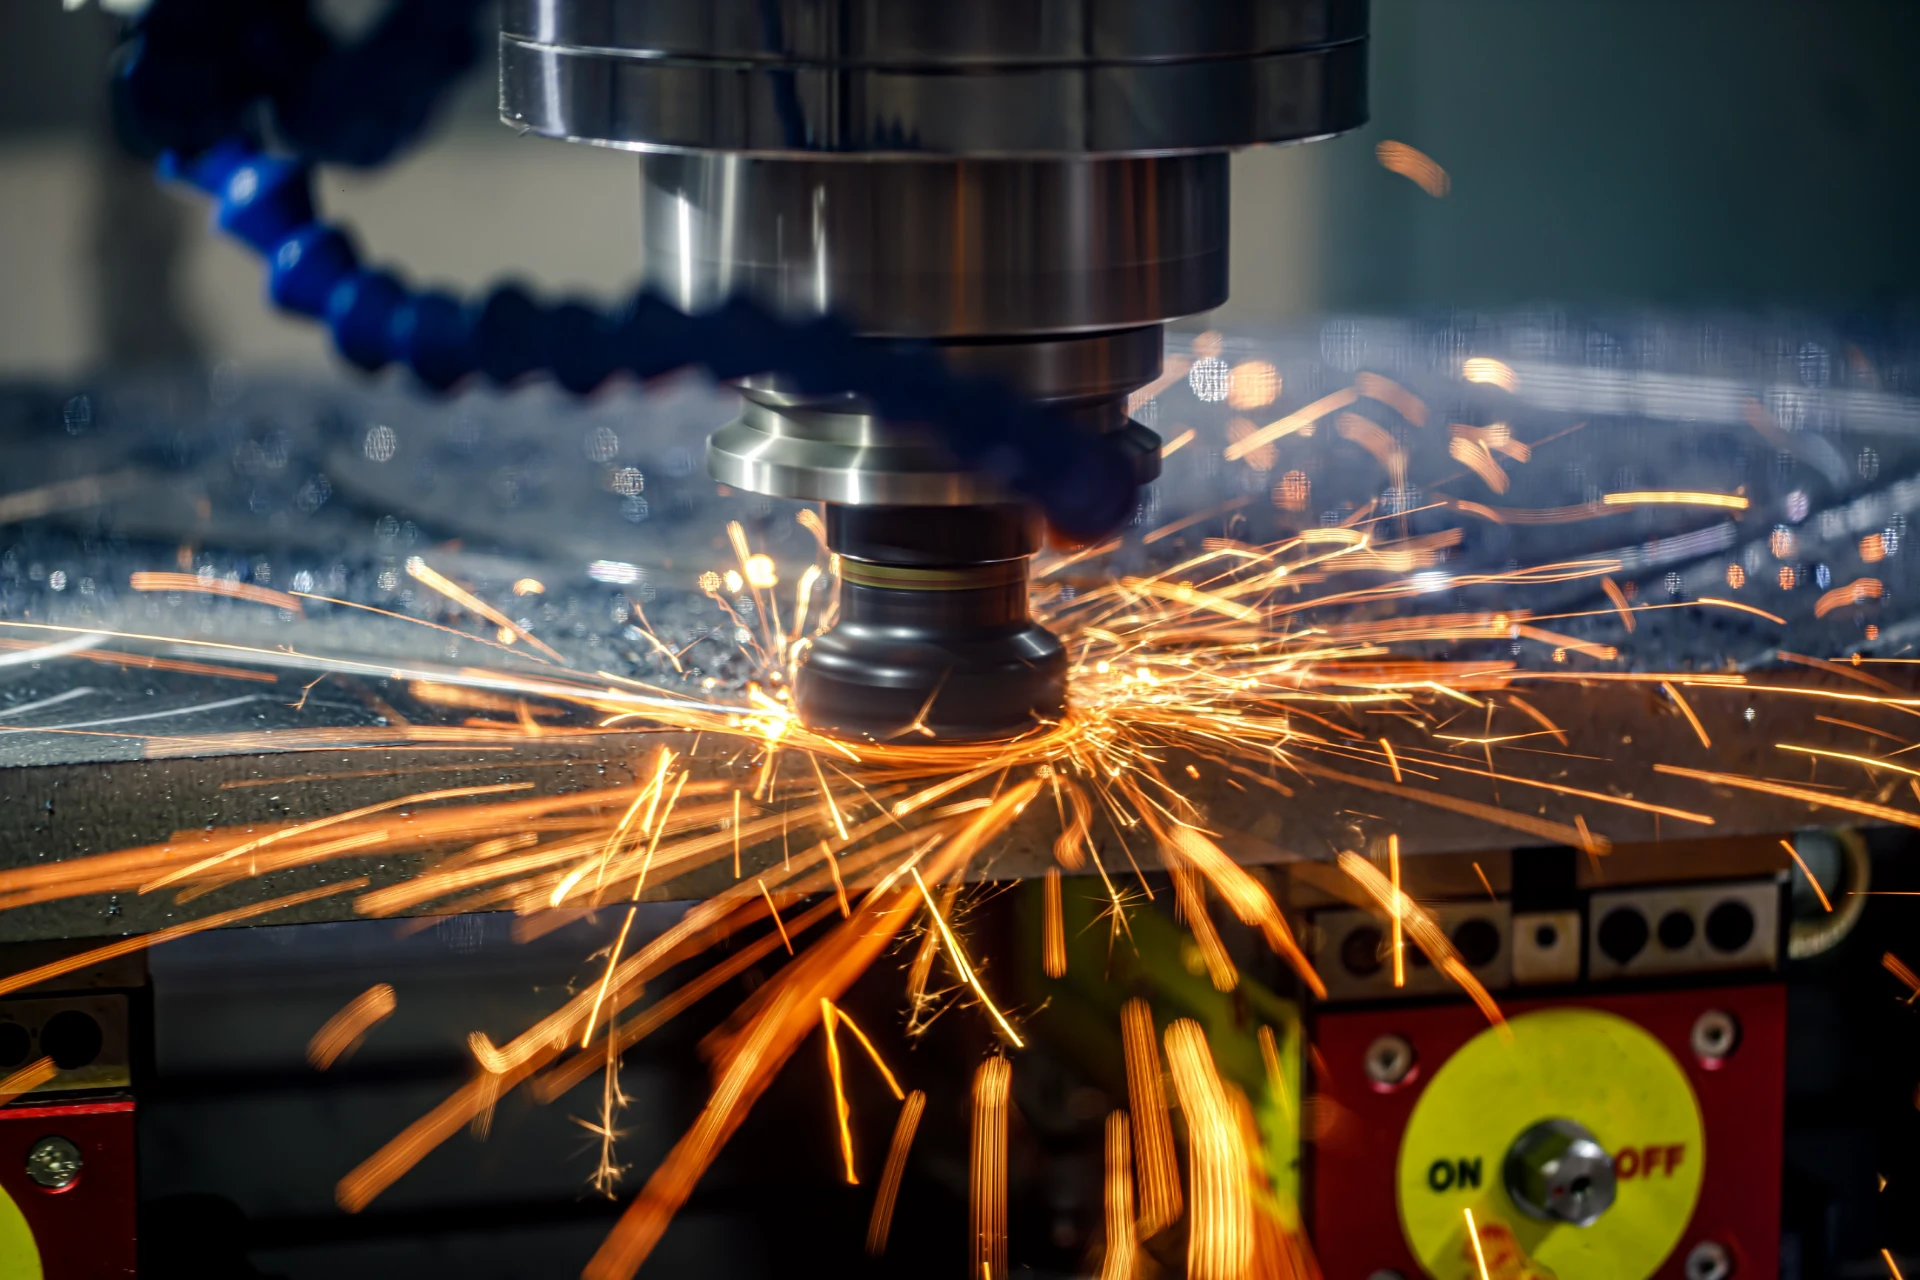
The Stamping Process
1. Preparing the Metal Cut your sheet metal to the approximate size of your final piece. Ensure the edges are smooth and free from burrs to prevent injuries during handling.
2. Setting Up the Die If you’re using a custom die, securely attach it to the press. Ensure that the punch will align correctly with the die to produce clean and accurate shapes.
3. Stamping the Metal Position the prepared sheet between the die and punch in the press. Gradually apply pressure with the hydraulic press until the punch penetrates the metal, creating the designed shape. Avoid applying too much force at once, as this could deform the metal or damage the die.
4. Finishing Touches Once the part is stamped, remove any burrs or sharp edges using a deburring tool or grinder. This step not only improves safety but also enhances the overall finish of your piece.
Experimenting and Learning
As with any skill, practice makes perfect. Start with simple designs and gradually move to more complex shapes as you gain confidence and skills. Don't hesitate to experiment with different materials and thicknesses of sheet metal to see how they behave during the stamping process.
Conclusion
Sheet metal stamping at home can be both enjoyable and productive. With the right tools and a solid understanding of the process, you can create custom metal components tailored to your needs. Remember to prioritize safety and to take the time to plan your projects thoroughly. As you gain experience, you’ll find more ways to incorporate your stamped pieces into everyday objects, enhancing both functionality and aesthetics in your DIY projects. Whether you’re a seasoned craftsperson or a curious beginner, the world of sheet metal stamping is waiting for you to explore. Happy stamping!
-
Precision Casting AI Solution with GPT-4-Turbo | Optimized QualityNewsAug.02,2025
-
Precision Sheet Metal Stamping Manufacturer | Fast & ReliableNewsAug.01,2025
-
OEM Sand Cast Pump Valve Fittings - Baoding Hairun Machinery And Equipment Trading Co., Ltd.NewsAug.01,2025
-
Custom OEM Impellers | High Efficiency & PrecisionNewsAug.01,2025
-
OEM Sand Cast Pump Valve Fittings - Baoding Hairun Machinery | Customization, Quality AssuranceNewsAug.01,2025
-
OEM Sand Cast Pump Valve Fittings - Baoding Hairun Machinery And Equipment Trading Co., Ltd.NewsAug.01,2025


